Quick Start
Get started with keycloak-config-cli in just a few minutes.
Prerequisites
Step 1: Start Keycloak
Launch a Keycloak instance with the latest version:
docker run --rm -p 8080:8080 \
  -e KEYCLOAK_ADMIN=admin \
  -e KEYCLOAK_ADMIN_PASSWORD=admin \
  quay.io/keycloak/keycloak:26.5.5 start-dev
Wait for Keycloak to start (you'll see "Listening on: http://localhost:8080").
Step 2: Create Configuration
Create a file named realm-config.json and paste the following content:
{
  "enabled": true,
  "realm": "realmWithClients",
  "clients": [
    {
      "clientId": "moped-client",
      "name": "moped-client",
      "description": "Moped-Client",
      "enabled": true,
      "clientAuthenticatorType": "client-secret",
      "secret": "my-special-client-secret",
      "redirectUris": [
        "*"
      ],
      "webOrigins": [
        "*"
      ]
    },
    {
      "clientId": "client-to-be-deleted",
      "name": "client-to-be-deleted",
      "description": "Client which has to be removed after first config changes",
      "enabled": true,
      "clientAuthenticatorType": "client-secret",
      "secret": "my-special-client-secret",
      "redirectUris": [
        "*"
      ],
      "webOrigins": [
        "*"
      ]
    }
  ],
  "attributes": {
    "custom": "test-step00"
  }
}
Step 3: Import Configuration
Using Docker (Recommended)
docker run --rm \
  -v "$(pwd)/realm-config.json:/config/realm-config.json:ro" \
  -e KEYCLOAK_URL="http://localhost:8080" \
  -e KEYCLOAK_USER="admin" \
  -e KEYCLOAK_PASSWORD="admin" \
  -e IMPORT_FILES_LOCATIONS="/config/realm-config.json" \
  adorsys/keycloak-config-cli:26.5.5
Using Local JAR
# Download the latest CLI
wget https://github.com/adorsys/keycloak-config-cli/releases/download/v6.5.0/keycloak-config-cli-26.5.4.jar

# Run the import
java -jar keycloak-config-cli-26.5.4.jar \
  --keycloak.url=http://localhost:8080 \
  --keycloak.user=admin \
  --keycloak.password=admin \
  --import.files.locations=realm-config.json
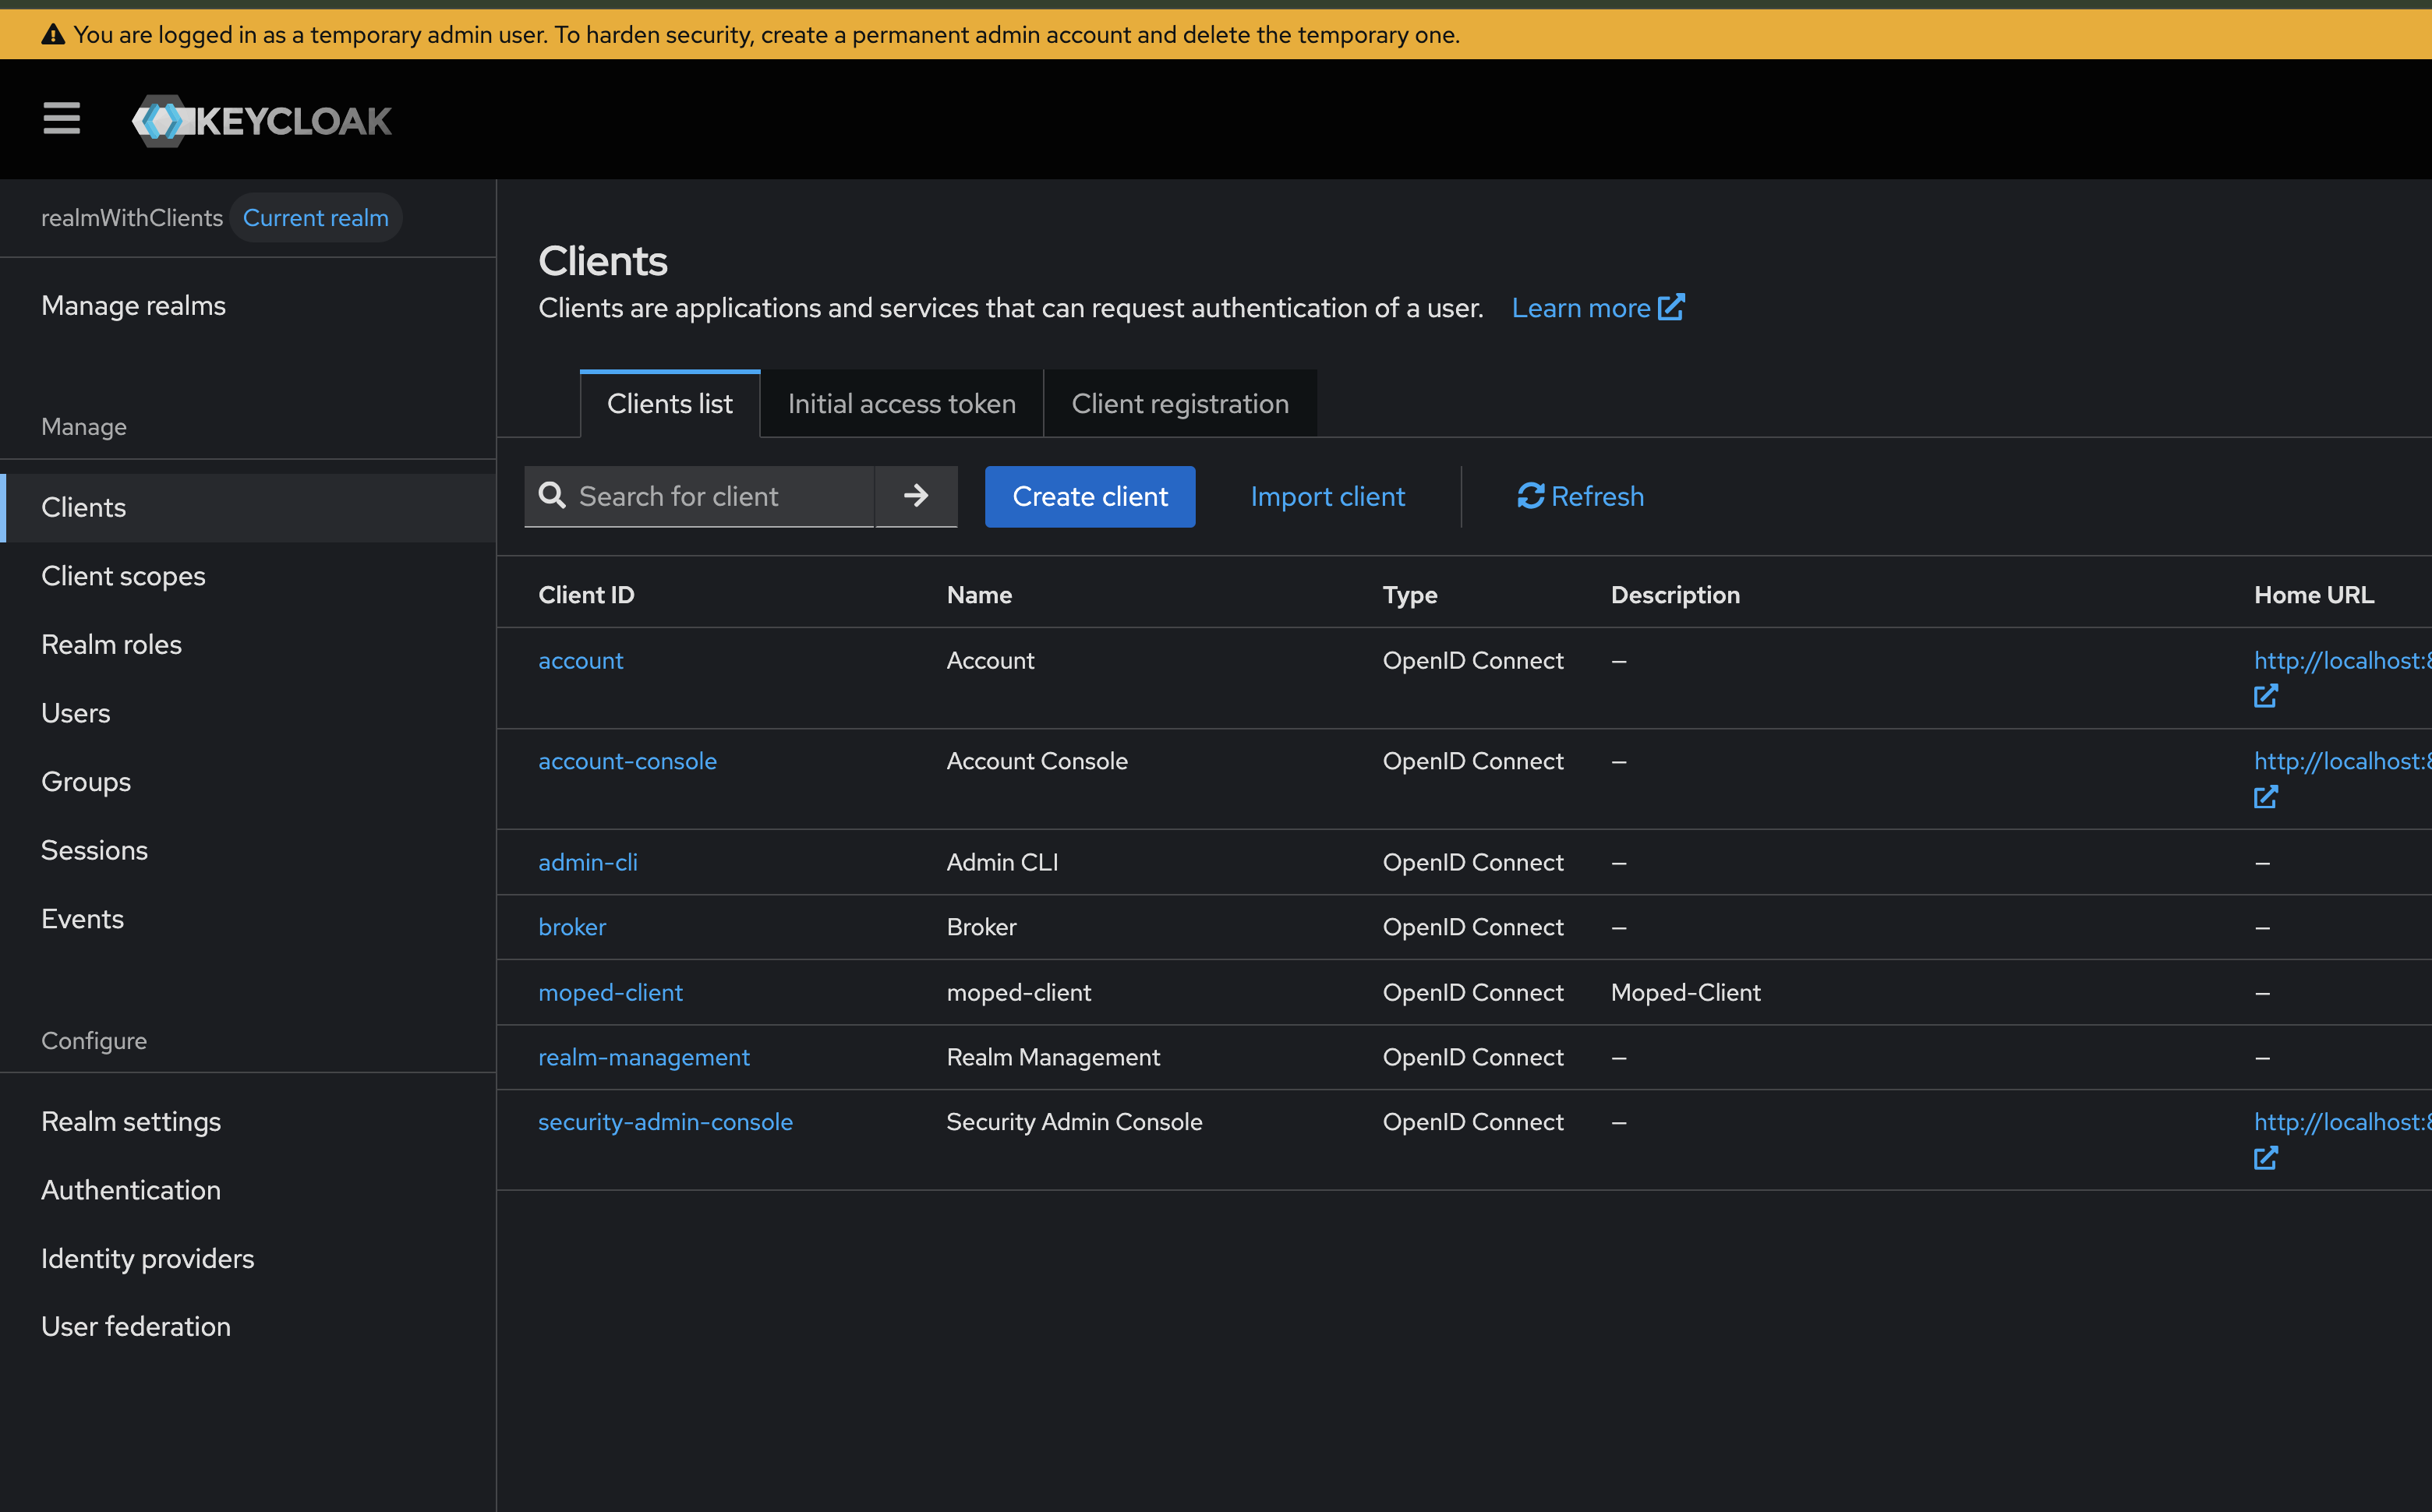
Step 4: Verify Results
Open your browser and navigate to the Keycloak Admin Console:
- Go to http://localhost:8080
- Sign in with
admin/admin
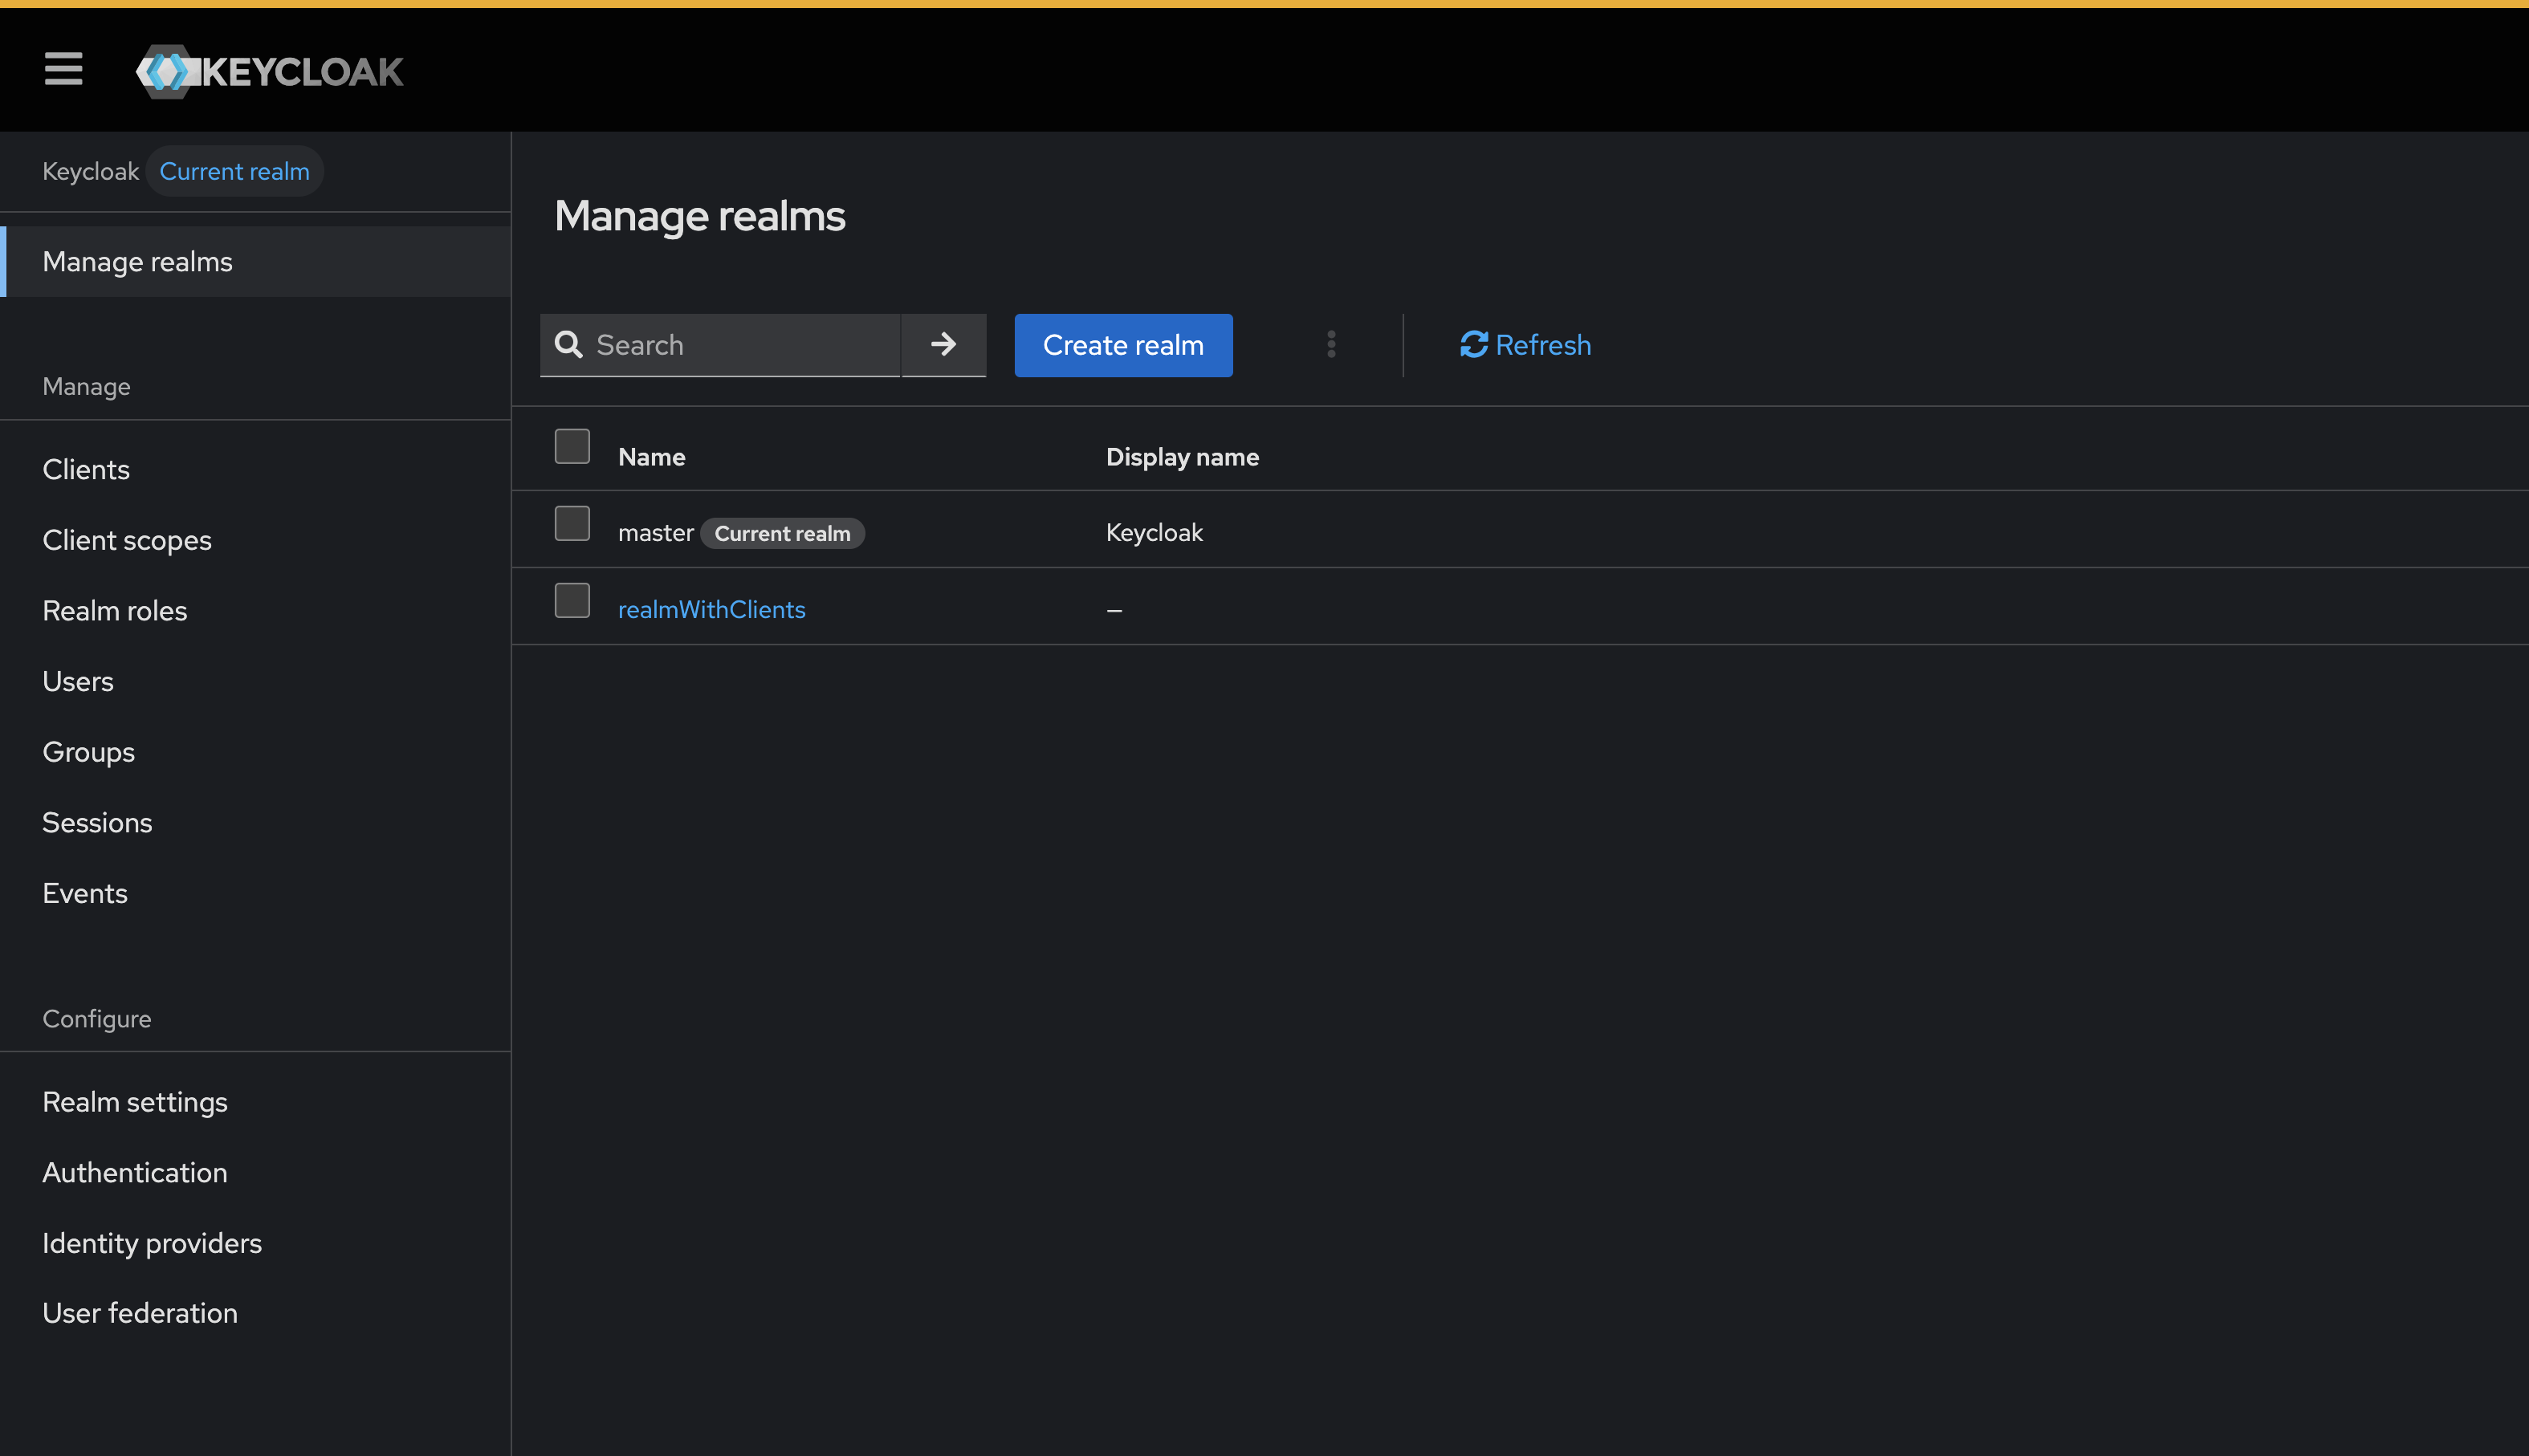
- Select the realmWithClients realm from the dropdown
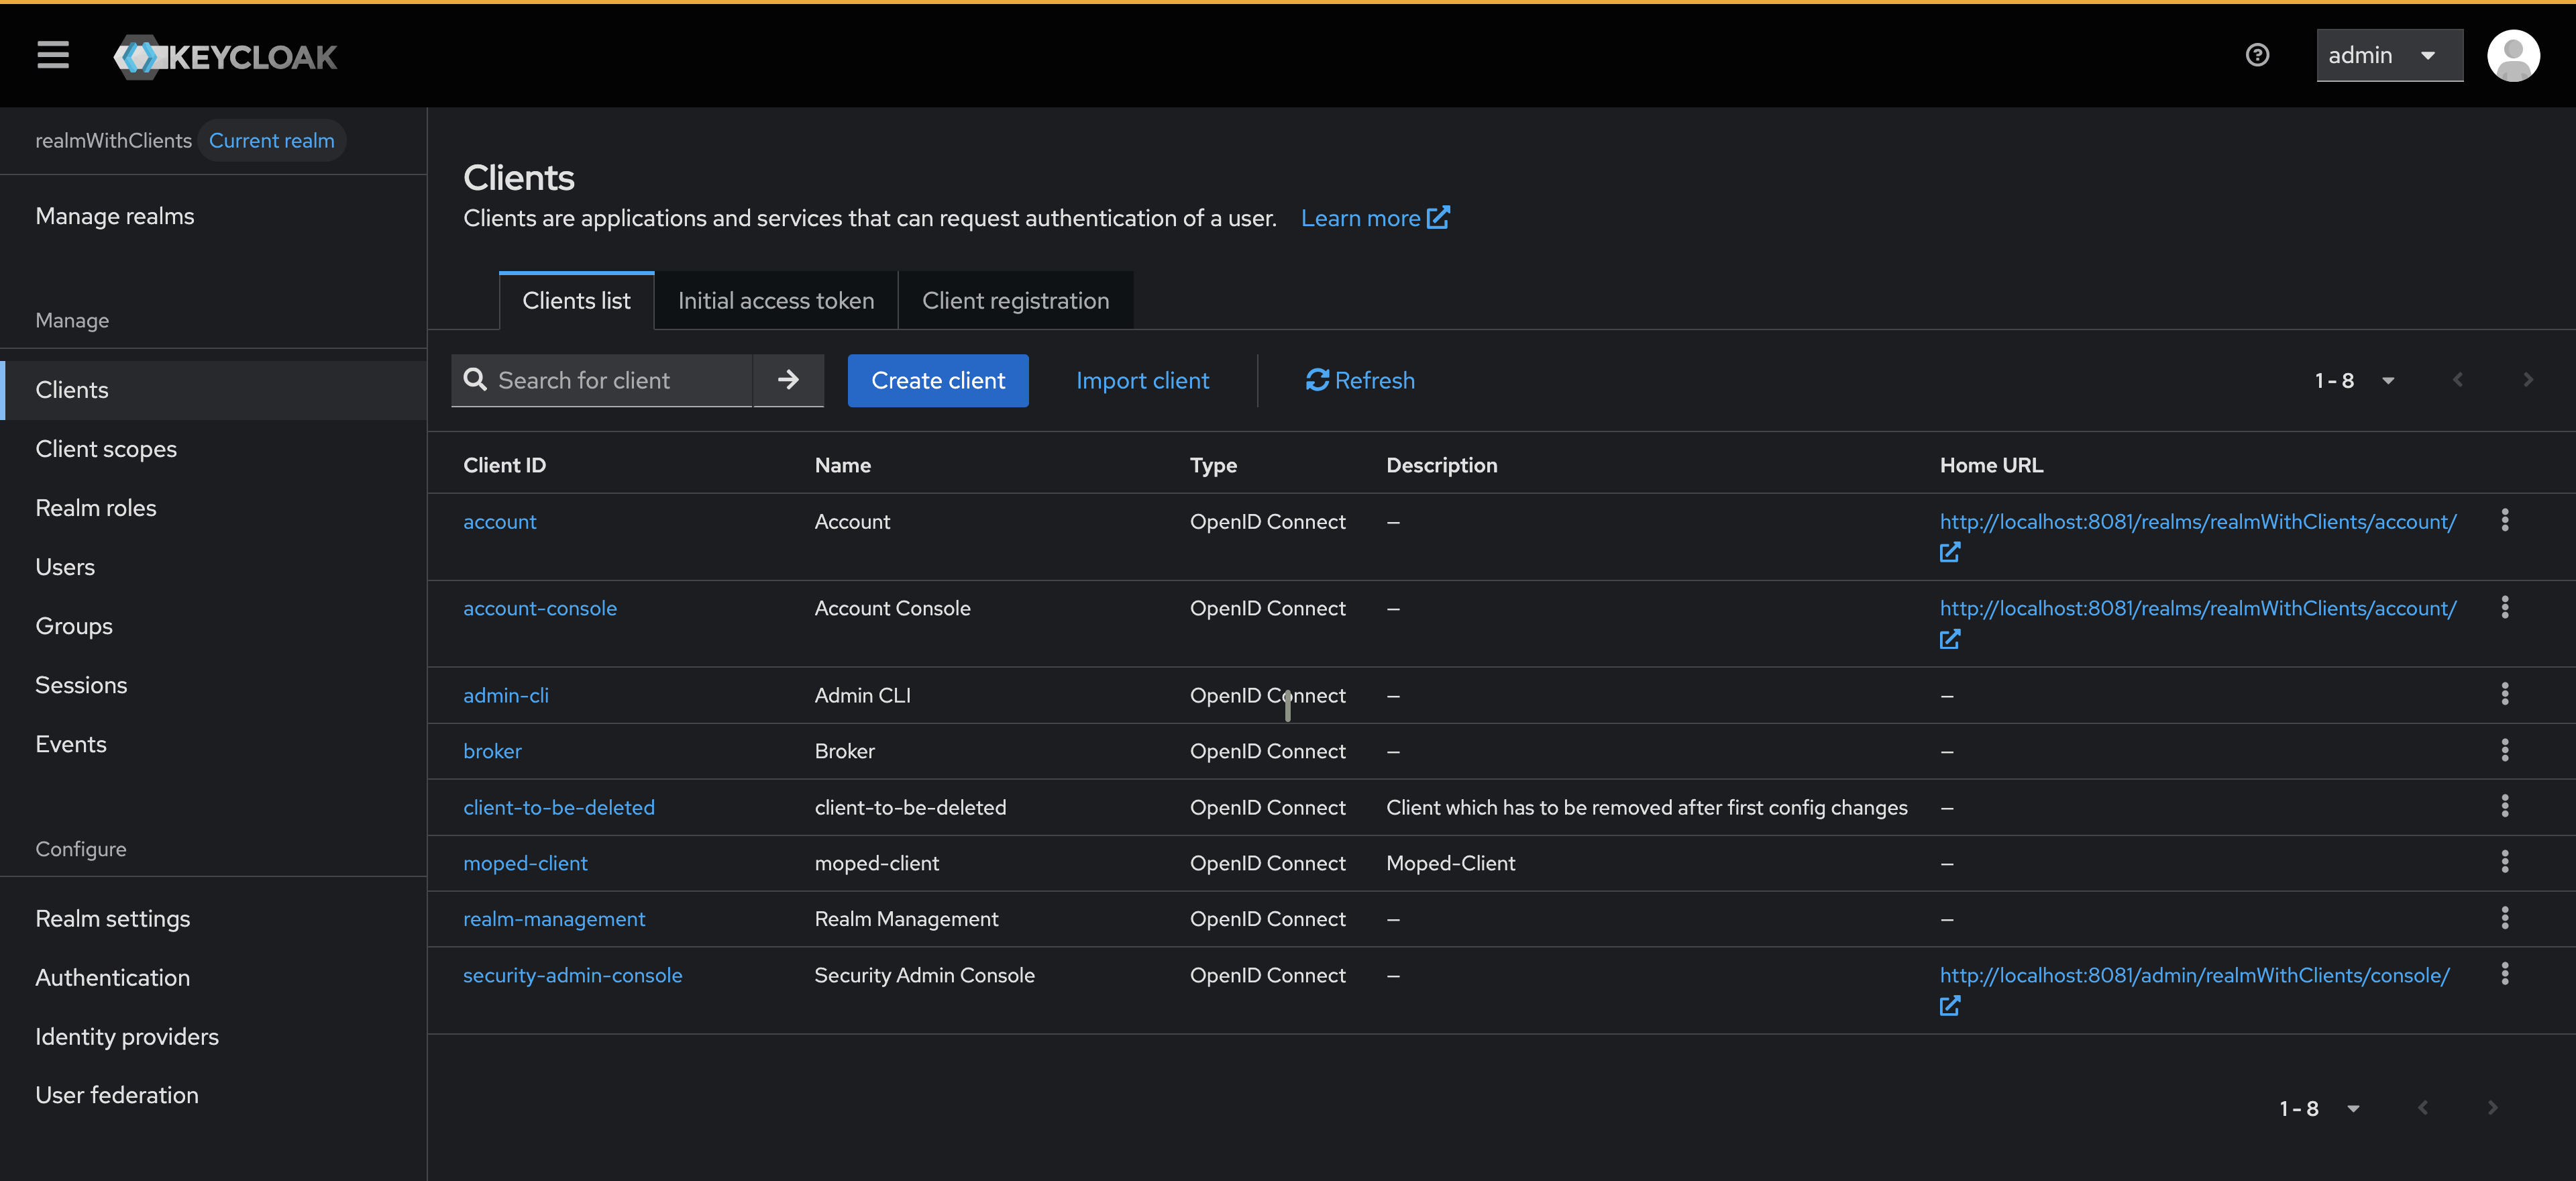
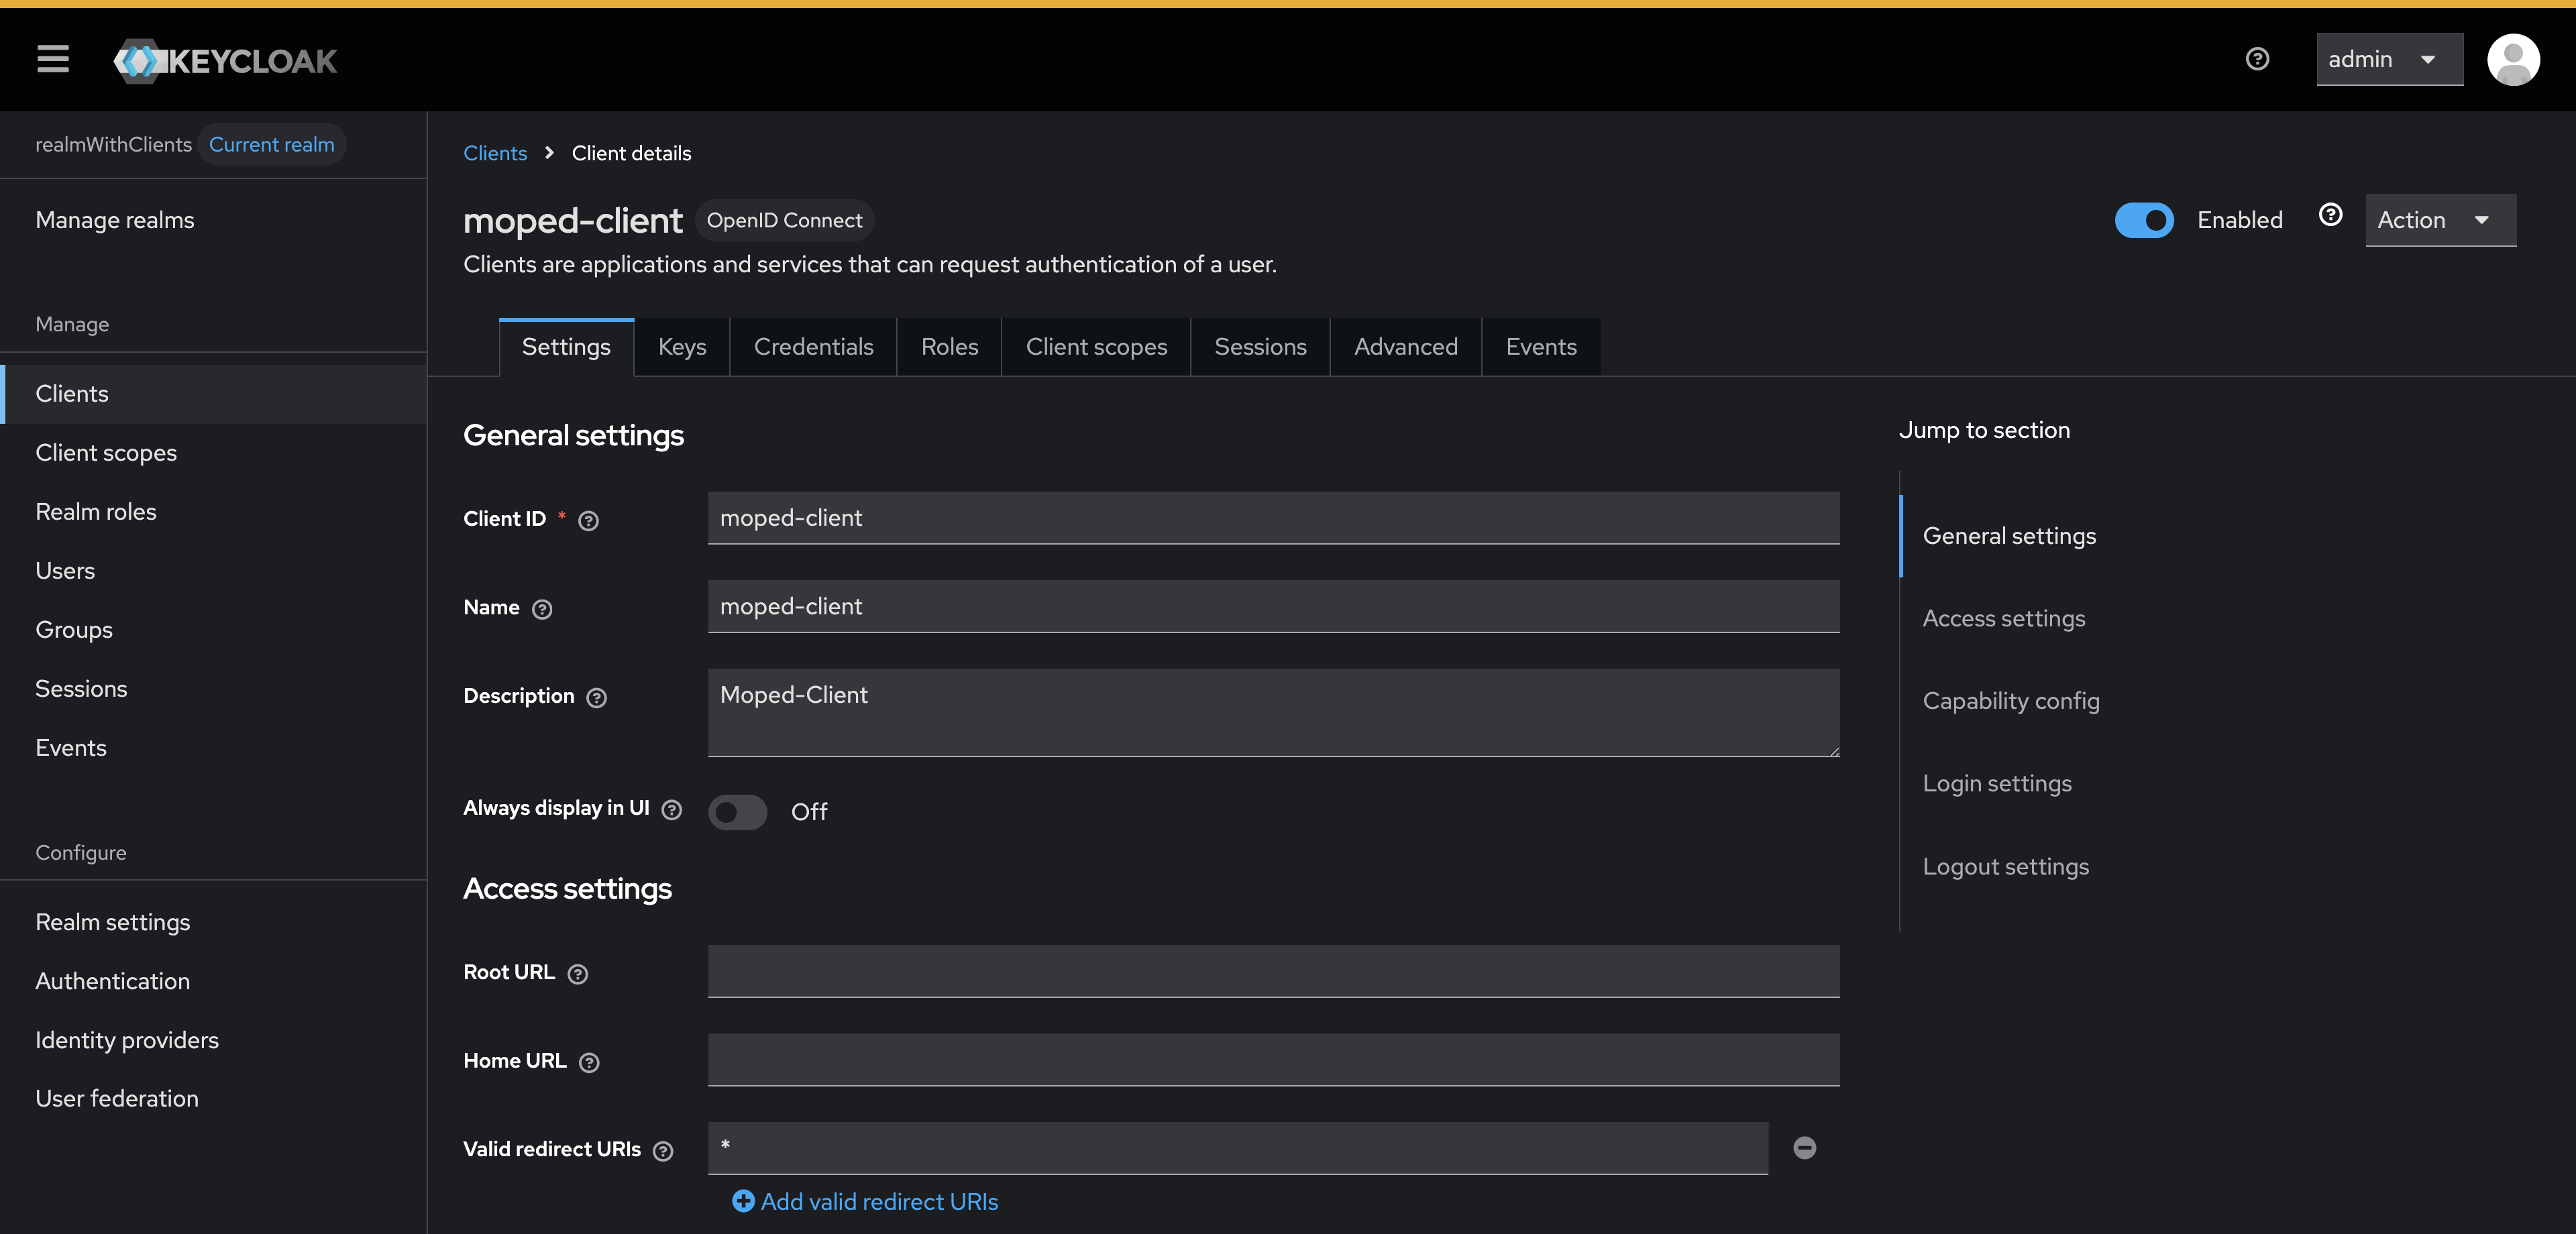
- Navigate to Clients in the left menu Click on moped-client to view details
- Confirm the values match the configuration file
You should have seen that:
- ✅ moped-client (enabled)
- ✅ client-to-be-deleted (enabled)
Step 5: Update Configuration
Modify your realm-config.json to remove the client:
{
  "enabled": true,
  "realm": "realmWithClients",
  "clients": [
    {
      "clientId": "moped-client",
      "name": "moped-client",
      "description": "Moped-Client",
      "enabled": true,
      "clientAuthenticatorType": "client-secret",
      "secret": "my-special-client-secret",
      "redirectUris": [
        "*"
      ],
      "webOrigins": [
        "*"
      ]
    }
  ],
  "attributes": {
    "custom": "test-step00"
  }
}
Run the import again (same command as Step 3). The CLI will:
- ✅ Keep moped-client (unchanged)
- ✅ Delete client-to-be-deleted (removed from config)
Next Steps
- Explore configuration options
- Check supported features
- View more example configurations